How it works?

web interface

Web Interface

This is where users manage their network devices through a web console. Users can upload and download files, which are then made available through TFTP in the Portharbor App.

app

Portharbor App

This is an application written in node.js and run in Docker. The Portharbor App manages USB-RS232 adapters and console ports of network devices. You can have multiple instances of Portharbor App installed on various devices (mini PCs, Raspberry Pis, servers), all of which are connected to your Portharbor.io account.

backend

Backend

This is the component that the Portharbor App connects to via API. When a user indicates a desire to connect to a terminal via the Web Interface, the Portharbor App connects to the Backend to initiate the connection.
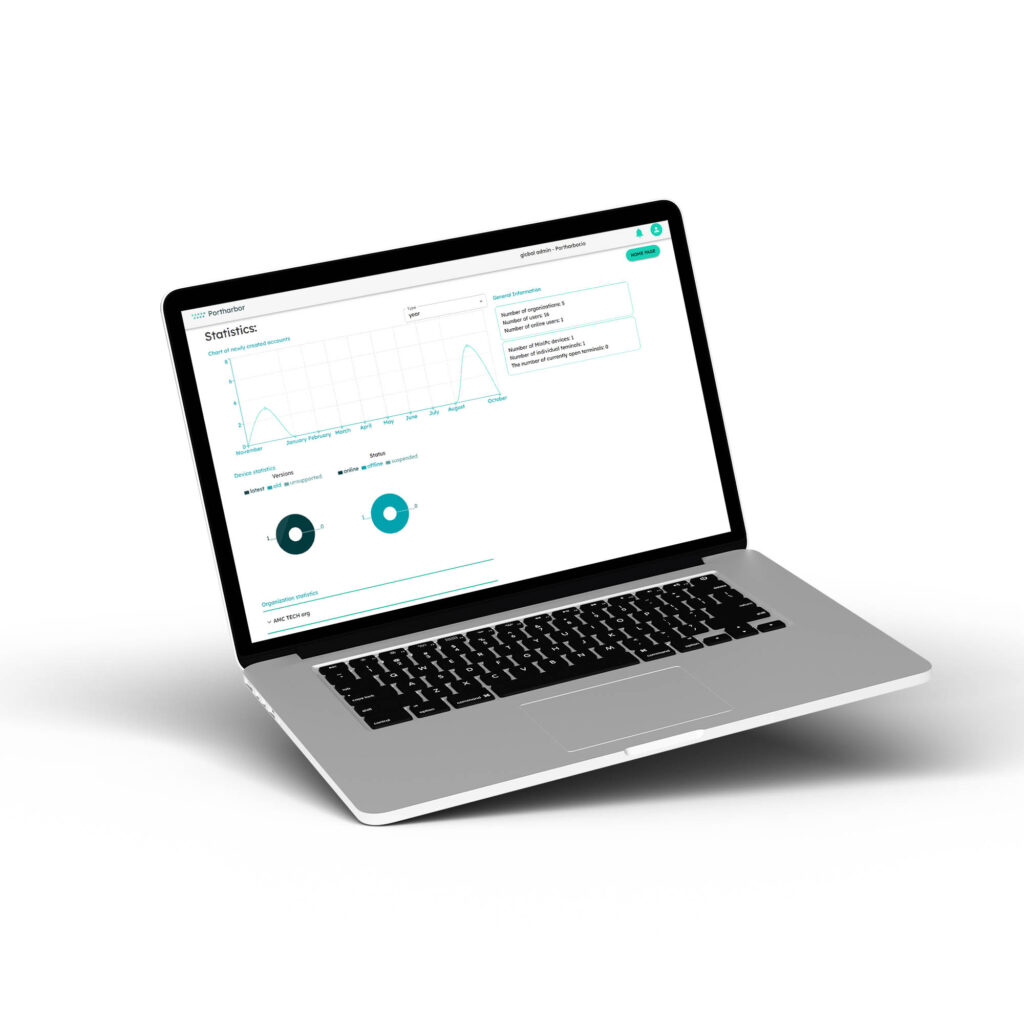
Portharbor management system

2 Months for Free in Annual Plan

Choose our annual premium plan and you will get 2 months for free ($12.50 / month instead of $15.00 / month)

How it works?

3 simple steps to configure Portharbor

Setting up the Portharbor App

  • Download the Portharbor App and install it on your preferred device, such as a mini PC, Raspberry Pi, or server. Remember, you can install the app on multiple devices as needed. Check out our docs section for more information.
  • Connect your network devices to the Portharbor App using USB-RS232 adapters.

Using the Web Interface

  • Log into the Portharbor.io Web Interface. This is where you’ll manage yournetwork devices.
  • The web interface allows you to set up the parameters for the serial connection(like the baud rate, parity, stop bits etc.) to your network devices.
  • Additionally, the web interface allows you to upload and download files, which are then made available through TFTP in the Portharbor App.

Connecting to a Terminal

  • When you want to connect to a terminal, go to the Web Interface and select the network device you want to connect to.
  • The Portharbor App will then connect to the Portharbor.io Backend via API to initiate the connection.